


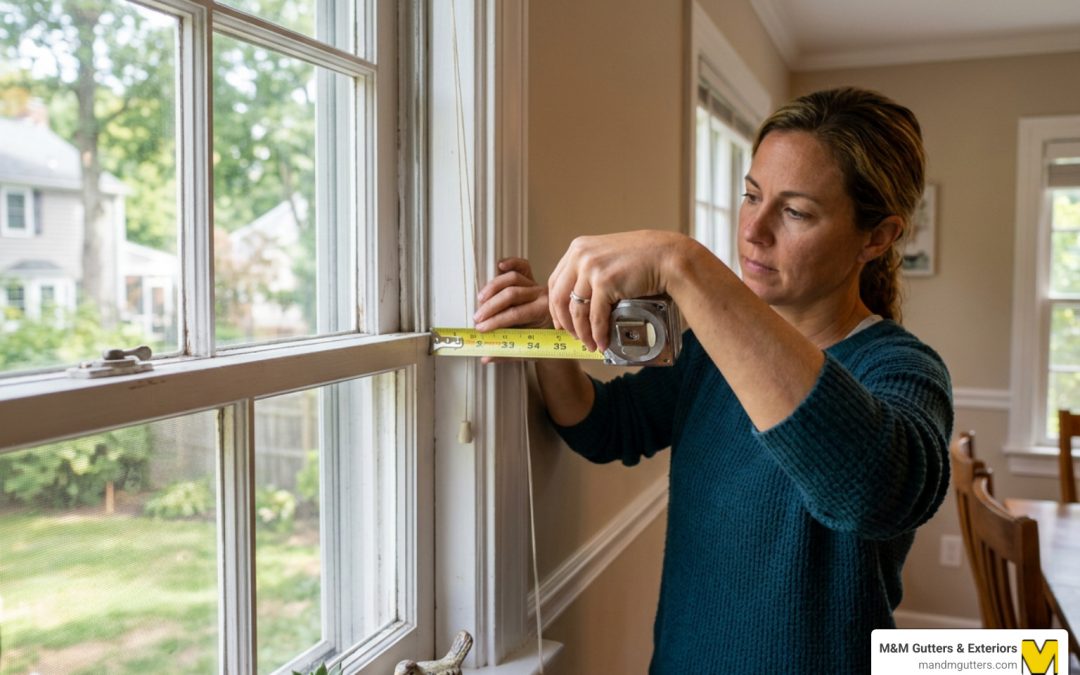
Why Getting Your Window Sash Measurements Right the First Time Matters
How to measure window sash replacement is simpler than most homeowners expect — but small errors can lead to big headaches.
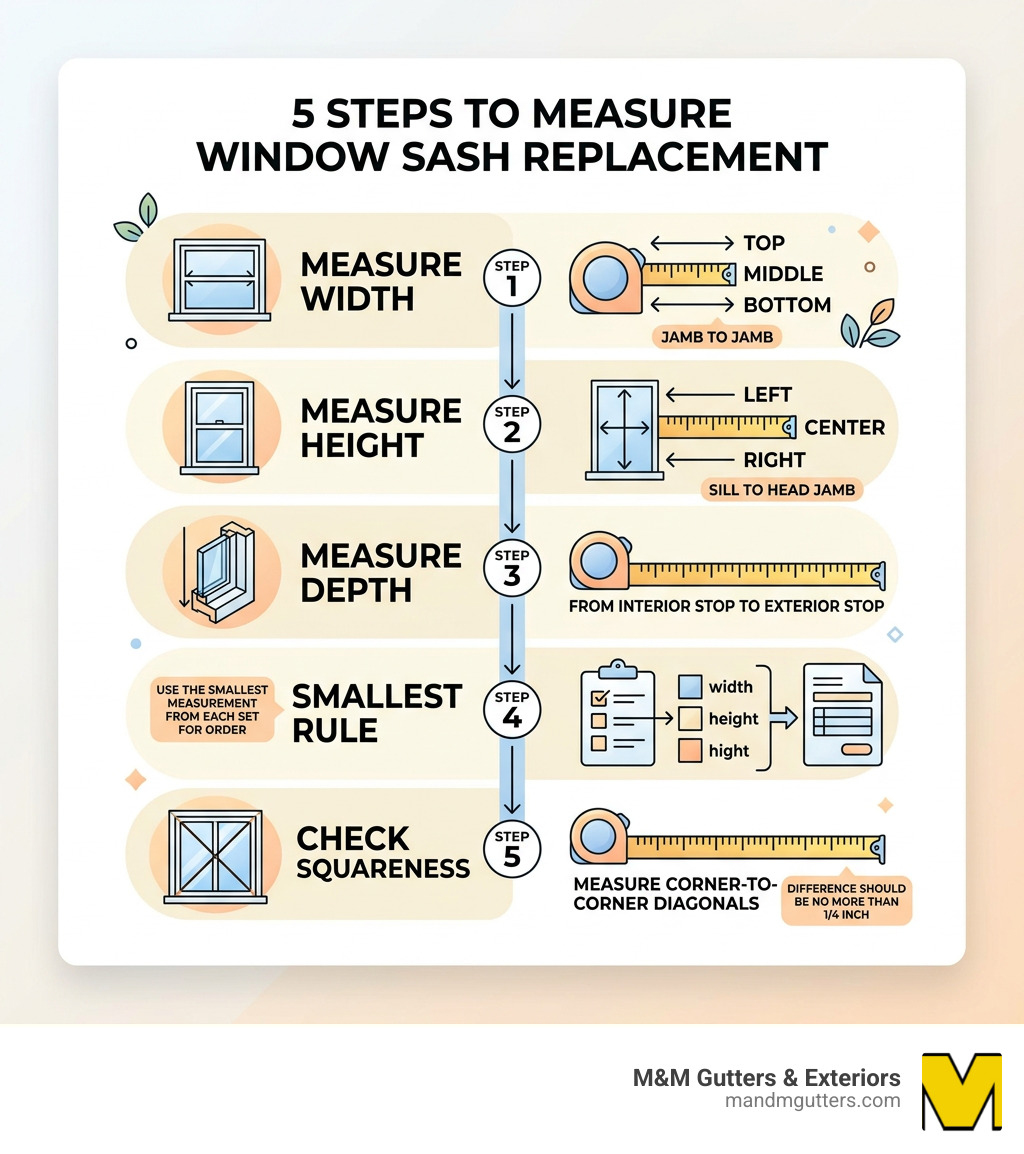
Here’s a quick overview of the process:
- Measure the width at three points (top, middle, bottom) from jamb to jamb
- Measure the height at three points (left, center, right) from sill to head jamb
- Measure the depth from interior stop to exterior stop
- Use the smallest measurement from each set for your order
- Check for squareness by measuring corner-to-corner diagonals (difference should be no more than 1/4 inch)
It sounds straightforward. But incorrect measurements contribute to 25% of all window replacement errors — and 70% of fitting issues trace back to DIY measuring mistakes.
Getting it right the first time saves money, preserves your home’s look, and keeps drafts out. Getting it wrong means ordering the wrong sash, dealing with gaps, or paying twice.
I’m Nathan Nuttall from M&M Gutters & Exteriors, and after 30 years helping Utah homeowners with exterior improvements — including window work — I’ve seen how a few minutes of careful measuring for window sash replacement can save hours of costly rework. Let’s walk through exactly how to do it right.
Terms related to how to measure window sash replacement:
- How to measure double hung windows
- How to measure house windows for replacement
- How to measure window screen replacement
Essential Tools for Accurate Window Sash Measurement
Before we start pulling tape, we need to talk about your toolkit. In our three decades of serving the Wasatch Front, we’ve found that the difference between a sash that slides like butter and one that sticks like a Salt Lake City commute is the precision of the tools used.
To get started, you will need:
- A high-quality tape measure: A standard 25-foot tape is perfect. If you’re unsure about your technique, check out this video: How Do I Use a Tape Measure?.
- A laser distance measurer: If you want to be truly professional, laser tools can improve accuracy by 15-20% compared to traditional tapes. They eliminate the “bend” in the tape that often leads to 1/8-inch errors.
- A spirit level: This is vital for checking if your frame has settled or bowed over time.
- A notepad and pencil: Don’t trust your memory. Write everything down immediately.
- A sturdy ladder: Especially for those second-story windows in Davis or Weber County.

Using the right tools is the first step in avoiding the 60% of homeowners who regret DIY measuring due to precision issues. While a laser tool is a great investment, a reliable tape measure used correctly is more than enough for most standard jobs.
Step-by-Step: How to Measure Window Sash Replacement
The golden rule of how to measure window sash replacement is the “Smallest Measurement Rule.” Houses settle, wood warps, and frames bow. If you measure in only one spot, you might order a sash that fits the top but gets stuck halfway down.
Taking multiple measurements can reduce errors by up to 25%. You want to measure the opening, not the old sash itself (unless specifically requested by a manufacturer like Andersen or Fenster). By measuring the frame opening, you ensure the new unit accounts for any shifting in the house.
For more on the basics of getting dimensions right, see our guide on Measuring Up How to Get Perfect Window Dimensions Every Time.
Measuring Width for Window Sash Replacement
When we talk about width, we are looking for the horizontal distance between the side jambs. The jambs are the vertical sides of the window frame.
- Top Measurement: Place your tape against the surface of the left jamb and measure across to the right jamb at the very top of the window.
- Middle Measurement: Repeat the process exactly in the center of the window.
- Bottom Measurement: Repeat the process at the bottom, just above the sill.
Pro Tip: Ensure you are measuring from the actual jamb surface, not the trim or the weatherstripping. If your window has jamb liners (the plastic tracks the sash slides in), you may need to remove them or measure to the wood behind them depending on the replacement kit instructions.
| Measurement Point | Width (Example) |
|---|---|
| Top | 32 1/8″ |
| Middle | 32″ |
| Bottom | 32 1/4″ |
| Order Size | 32″ |
Always record the smallest of these three numbers. This ensures the new sash won’t bind in the narrowest part of the frame.
Measuring Height for Window Sash Replacement
Height is the vertical distance from the highest point of the sill to the head jamb (the top horizontal part of the frame).
- Left Side: Measure from the sill to the head jamb on the far left.
- Center Point: Measure in the dead center.
- Right Side: Measure on the far right.
For double-hung windows, the sill is often sloped. You want to measure from the point where the sash actually meets the sill. If you’re working with a specific style, our The Double Hung Window Measurement Handbook No More Guesswork provides deeper insights into these nuances.
Determining Jamb Depth and Thickness
One of the most overlooked steps in how to measure window sash replacement is the depth. If the replacement sash is too thick for your existing frame pocket, it simply won’t fit.
Most modern replacement sashes require a minimum jamb depth of 3-1/4 inches. To measure this:
- Open the window.
- Measure the distance between the interior stop (the trim piece holding the sash in) and the exterior stop.
- Do not include the trim or “casing” that sits on the wall.
You should also note the Inside Visible Glass (IVG) area. This is the width and height of the glass you can actually see. While the overall sash size is what you order, the IVG helps manufacturers confirm they are building the right profile for your specific window model. This is especially helpful if you are trying to match existing windows in a historic area like the Avenues in Salt Lake City.
Checking for Squareness and Frame Integrity
A window frame can be the right width and height but still be “out of square,” meaning it’s shaped more like a parallelogram than a rectangle. If your frame is significantly out of square, a standard replacement sash will leave gaps in the corners.
To check this, use diagonal measurements:
- Measure from the top-left corner to the bottom-right corner.
- Measure from the top-right corner to the bottom-left corner.
- Compare the two numbers.
If the difference is 1/4 inch or less, your frame is square enough for a standard replacement. If the difference is greater than 1/4 inch, the frame has shifted too much, and you might need a full-frame replacement instead of just a sash.
While you’re there, check for frame integrity. Use a screwdriver to gently poke the wooden sill and jambs. If the wood feels soft or crumbles, you have rot. A new sash won’t fix a rotten frame. For a deeper dive into evaluating your frame, check our How to Measure Replacement Windows Guide.
Measuring for Different Window Styles and Shapes
Not all windows are created equal. In Utah, we see everything from traditional double-hung windows in older Sugar House bungalows to modern casements in new builds in Summit County.
- Double-Hung & Single-Hung: These are the most common. You’ll need to measure both the top and bottom sashes, even if they look identical. Often, the top sash is slightly different in height than the bottom.
- Casement Windows: These are measured from the exterior side. You want the edge-to-edge width and height of the sash itself. Unlike double-hung windows, casements often have specific hardware clearances you need to account for.
- Sash Reveals: In some older brick homes, the window sits behind a “reveal,” meaning the exterior brick opening is smaller than the internal frame. In these cases, it is often best to measure from the inside to ensure the sash fits the pocket.
- Arched or Circular Windows: These are the trickiest. For an arch, you need the width, the height at the tallest point, and the “spring line” (where the curve starts). Approximately 35% of properties feature some form of non-standard window, and for these, we often recommend professional help to avoid the high cost of a custom-shaped mistake.
Learn more about identifying your window type here: Different Window Styles for Your Home.
Common Mistakes to Avoid When Measuring Sashes
We’ve seen it all at M&M Gutters & Exteriors. Here are the pitfalls that lead to the 70% DIY fitting issue rate:
- The “One and Done” Error: Measuring only one spot for width and height. Never assume your windows are perfectly square.
- Measuring the Glass Only: A common mistake is measuring the glass pane instead of the sash frame. The sash is the “picture frame” that holds the glass.
- Ignoring the Depth: If you have a 3-inch pocket and order a 3-1/4 inch sash, you’ll be left with a window that won’t close or lock.
- Mixing Up Interior and Exterior: Always be consistent. Most manufacturers want the “opening” size, but some want the “net sash” size. Mixing these up causes 30% of DIY errors.
- Forgetting to Subtract for Clearance: Most manufacturers will automatically undersize a sash by about 1/16 to 1/8 of an inch to ensure it doesn’t bind. If you subtract that yourself and they subtract it, your window will be too small and drafty. Always ask the supplier if they want “exact opening” or “net sash” dimensions.
If you notice your windows are difficult to open even after measuring, it might be a sign of deeper issues. See our guide on 11 Signs You Need New Windows for Your Home.
Frequently Asked Questions about Sash Replacement
Should I measure from the interior or exterior?
For most sash replacement kits, you should measure from the interior. This is where the sash actually sits and operates. However, if you are measuring for a full-frame replacement in a brick-front home, external measurements are necessary to ensure the unit fits the masonry opening.
Do I need to remove the jamb liners before measuring?
It depends on the manufacturer. Some replacement kits (like those for wooden windows) require you to measure the “pocket” behind the plastic liners. Others want the measurement between the liners. Always check the specific instructions from the brand you are ordering. If you’re unsure, it’s safer to measure the visible opening and note that the liners are still in place.
What is the standard tolerance for replacement sashes?
The standard tolerance for squareness is 1/4 inch on the diagonals. For the width and height, you want to be accurate within 1/16 of an inch. Properly fitted sashes can improve insulation and cut energy bills by 10-25%, so precision pays off!
Conclusion
Measuring for a window sash replacement is a task that rewards patience and precision. By following the three-point measurement system, checking for squareness, and using the right tools, you can avoid the common errors that plague DIY projects.
However, we know that life in Northern Utah is busy. Whether you’re in Salt Lake County, Utah County, or up in the mountains of Summit County, you might not have the time (or the desire to climb a ladder) to measure twenty windows perfectly.
That’s where we come in. At M&M Gutters & Exteriors, we bring over 30 years of experience to every home in the Salt Lake City area. We don’t just guess; we use advanced 3D visualization technology like HOVER to ensure every measurement is spot-on. Hiring experts can improve measurement accuracy by 30–50% and reduce the risk of errors by up to 90%.
If you’re ready to upgrade your home’s efficiency and beauty without the stress of “measuring twice and still getting it wrong,” give us a call. We’re your local experts for all things Windows, roofing, and gutters.
Don’t get “sashed” by a bad measurement — let us help you get it right the first time!